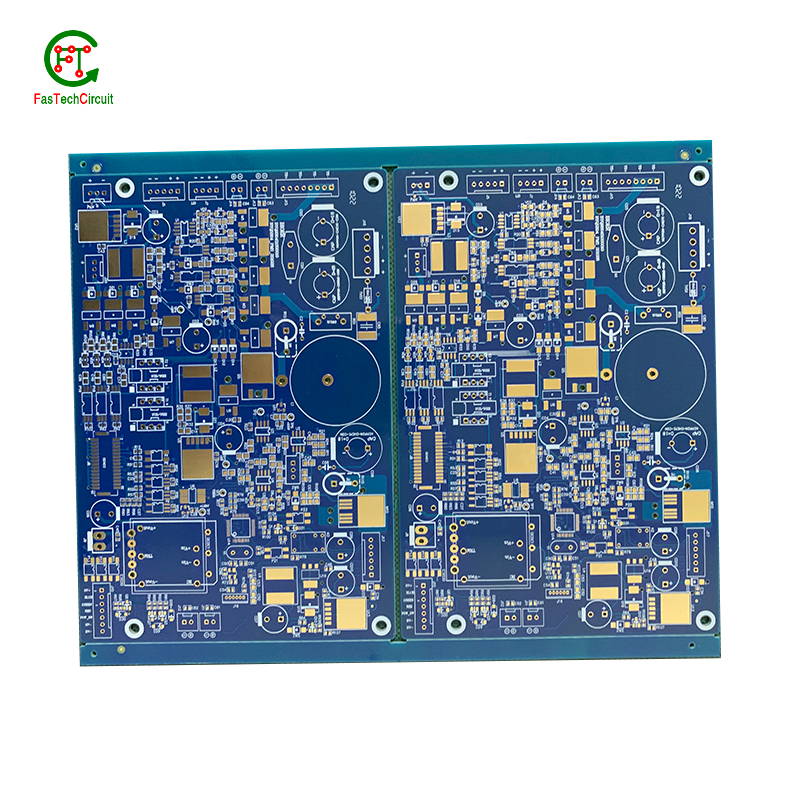
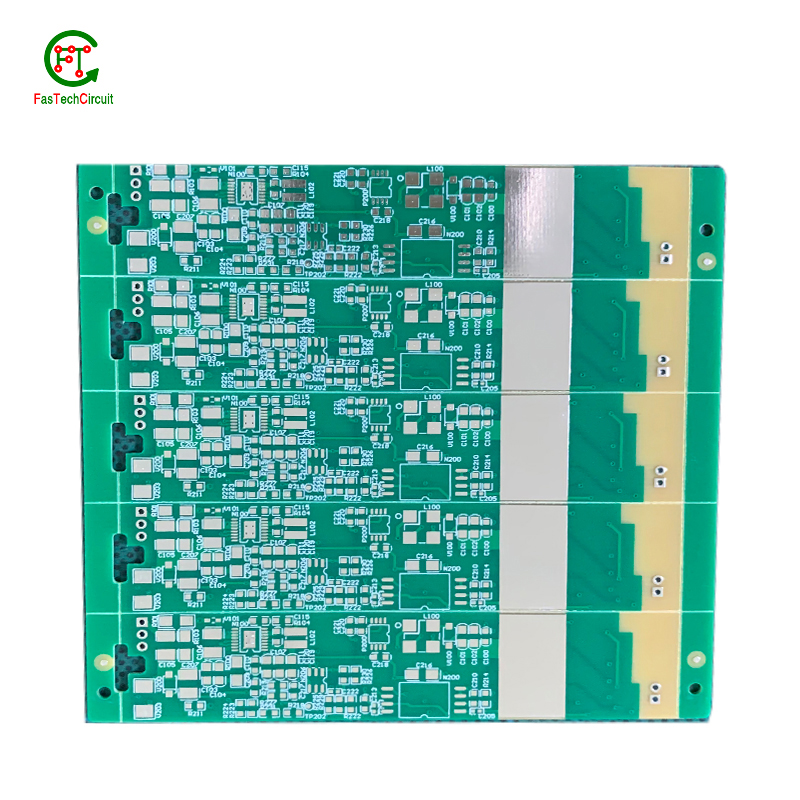
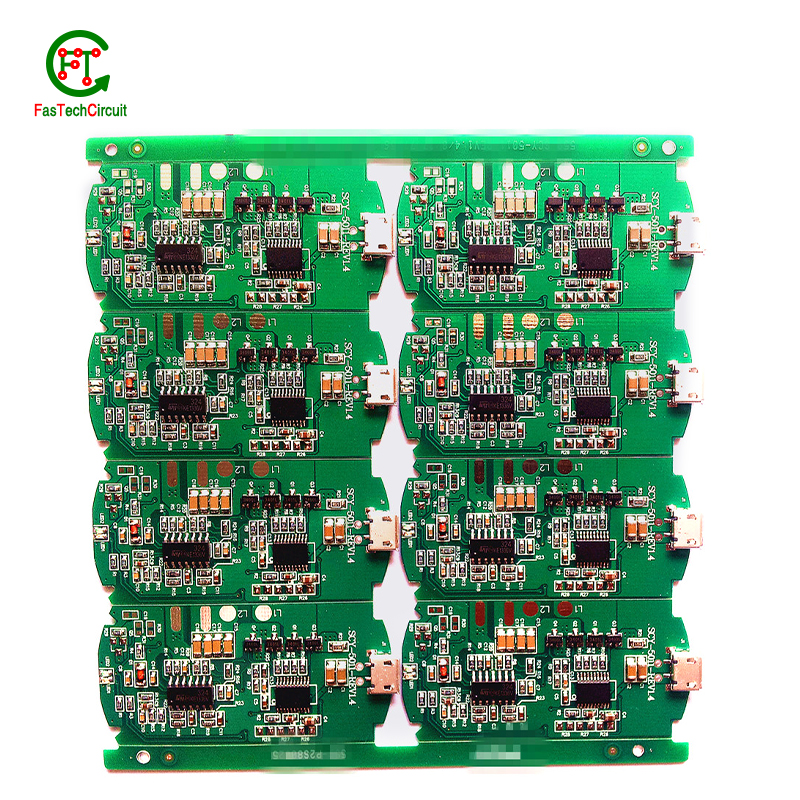
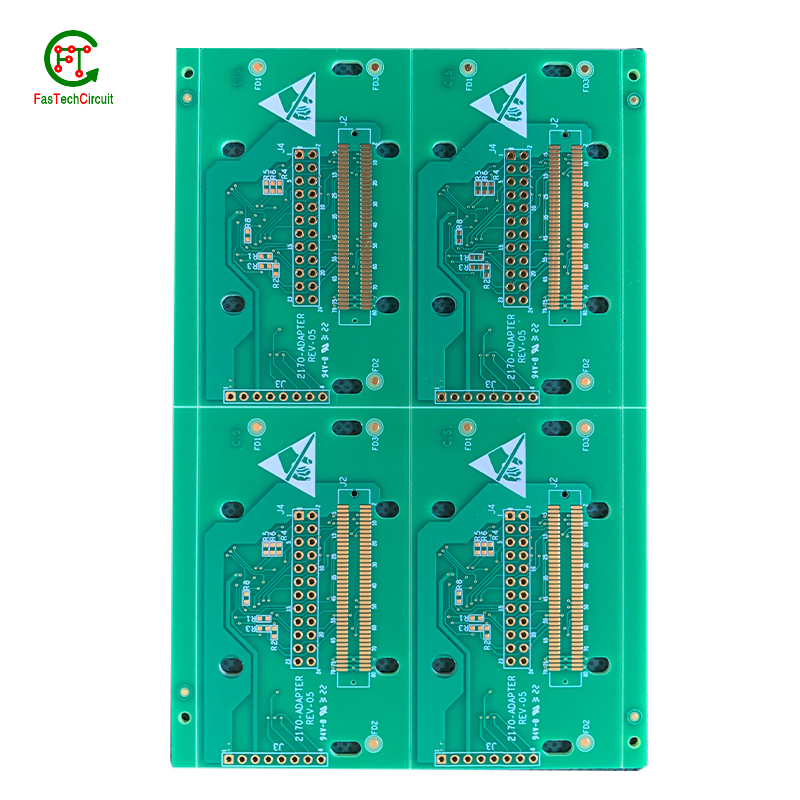
What is PCB manufacturing process?
1. Cost-effectiveness
One of the major advantages of PCB assembly is its cost-effectiveness. The automated production process significantly reduces the labor costs associated with manual assembly. Moreover, the high level of precision and accuracy in the assembly process results in fewer errors, minimizing the expenses of rework and component replacement.
2. High Quality and Reliability
Due to the automated production process and strict quality control measures, PCB assembly products exhibit consistently high quality and reliability. This is crucial for the smooth functioning of electronic devices, as any faulty component can lead to malfunctions and downtime.
3. Compact Size
With the advancement of technology, the demand for smaller and more compact electronic devices has increased. PCB assembly allows for the production of smaller and more complex circuitry, making it possible to design and manufacture smaller devices without compromising their functionality.
4. Faster Production Time
PCB assembly is a highly efficient production method that can produce a large number of circuit boards in a relatively short amount of time. This is because the assembly process is automated, with machines capable of placing and soldering components at a high speed.
5. Versatility
PCB assembly is a versatile production method that can accommodate a wide range of electronic components, including surface-mount, through-hole, and mixed technology components. This allows for the production of diverse electronic devices, from simple control panels to advanced medical equipment.
6. Design Flexibility
The design flexibility offered by PCB assembly is another significant advantage. With computer-aided design (CAD) tools, designers can easily create and modify circuit layouts, allowing for quick prototyping and customization of products. This is especially useful for industries that require frequent updates and modifications in their electronic designs.

The materials used in PCB assembly are also important factors to consider. High-quality materials, such as FR-4 fiberglass, ensure the durability and reliability of the assembled PCB, especially for electronic devices that require long-term use.
The assembly process begins with the design and layout of the PCB, which dictates the placement and orientation of components. Once the design is finalized, the components are placed using automated equipment or by hand. The PCB is then heated to melt the solder and create permanent connections between the components and the board.

PCB assembly is the process of assembling electronic components onto printed circuit boards (PCBs). It plays a critical role in the production of various electronic devices, from household appliances to advanced industrial equipment. However, as technology advances and the demand for higher quality products increases, there are often concerns and questions regarding the PCB assembly process. In this FQA (Frequently Asked Questions) section, we will address some commonly asked questions to provide a better understanding of PCB assembly.
2.Why is PCB assembly so expensive?
3.How do you calculate PCB components?
4.Why are PCBs so expensive?
5.How do you assemble a PCB?
6.What is PCB baking?
1.What is disadvantage of PCB?
1. Fragility: PCBs are made of thin layers of materials that can be easily damaged or broken if not handled carefully. This makes them more fragile compared to other electronic components. 2. High Cost: The manufacturing process of PCBs involves several steps and the use of specialized equipment, which makes them more expensive compared to other alternatives. 3. Limited Flexibility: PCBs are rigid and cannot be easily bent or flexed, which limits their use in certain applications where flexibility is required. 4. Environmental Impact: The production of PCBs involves the use of chemicals and materials that can be harmful to the environment. Improper disposal of PCBs can also lead to pollution and health hazards. 5. Design Limitations: PCBs have a fixed design and cannot be easily modified or customized once they are manufactured. This can be a disadvantage for products that require frequent design changes. 6. Difficult Repair: In case of any damage or malfunction, repairing a PCB can be a complex and time-consuming process, requiring specialized skills and equipment. 7. Thermal Management: PCBs can generate a lot of heat, which can affect the performance and lifespan of electronic components. Proper thermal management techniques need to be implemented to prevent overheating. 8. Size Limitations: PCBs have a limited size and can only accommodate a certain number of components. This can be a disadvantage for complex electronic devices that require a large number of components. 9. Signal Interference: PCBs can be susceptible to electromagnetic interference, which can affect the performance of electronic components and lead to signal loss or distortion. 10. Lead-Free Regulations: Many countries have regulations that restrict the use of lead in electronic products, which can make it challenging to manufacture PCBs that meet these requirements.
2.Why is PCB assembly so expensive?
1. High Cost of Materials: The materials used in PCB assembly, such as copper, solder, and components, can be expensive. The cost of these materials can significantly impact the overall cost of PCB assembly. 2. Complex Manufacturing Process: PCB assembly involves a complex manufacturing process that requires specialized equipment and skilled labor. This process can be time-consuming and labor-intensive, leading to higher costs. 3. Small Batch Production: PCB assembly is often done in small batches, which can increase the cost per unit. This is because the setup costs for each batch are the same, regardless of the batch size. 4. Quality Control: PCB assembly requires strict quality control measures to ensure that the final product meets the required standards. This involves testing and inspection at various stages of the manufacturing process, which can add to the cost. 5. Customization: Many PCB assemblies are customized to meet specific requirements, which can increase the cost. This is because the manufacturing process needs to be adjusted to accommodate the customization, leading to higher costs. 6. Design Complexity: The complexity of the PCB design can also impact the cost of assembly. More complex designs require more time and resources to manufacture, leading to higher costs. 7. Lead Time: PCB assembly often has a long lead time, which can increase the cost. This is because the longer the production time, the more resources and labor are required, leading to higher costs. 8. Location: The location of the PCB assembly facility can also impact the cost. Facilities in developed countries with higher labor and overhead costs may charge more for their services compared to facilities in developing countries. 9. Quality Standards: Some industries, such as aerospace and medical, have strict quality standards that must be met during PCB assembly. Meeting these standards can increase the cost of assembly. 10. Supply and Demand: The demand for PCB assembly can also impact the cost. If there is a high demand for PCB assembly, the cost may increase due to limited availability of resources and increased competition.
3.How do you calculate PCB components?
To calculate PCB components, follow these steps: 1. Determine the required components for your PCB design, such as resistors, capacitors, diodes, transistors, etc. 2. Determine the values of each component based on the circuit requirements and specifications. 3. Calculate the power rating for each component based on the maximum current and voltage that will pass through it. 4. Determine the physical size and package type of each component, such as through-hole or surface mount. 5. Calculate the number of pins or leads for each component. 6. Determine the spacing and placement of the components on the PCB layout. 7. Calculate the trace widths and spacing required for the PCB traces to carry the required current for each component. 8. Consider any additional components needed for proper functioning of the circuit, such as connectors, switches, or ICs. 9. Use a PCB design software or online calculator to help with the calculations and placement of components on the PCB layout. 10. Double-check all calculations and component placements before finalizing the PCB design.

4.Why are PCBs so expensive?
1. Raw Materials: The materials used to make PCBs, such as copper, fiberglass, and epoxy resin, are expensive and can significantly contribute to the overall cost of the PCB. 2. Design Complexity: The more complex the design of the PCB, the more time and resources are required to manufacture it, leading to higher costs. 3. Manufacturing Process: The process of manufacturing PCBs involves multiple steps, including designing, printing, etching, drilling, and soldering, which require specialized equipment and skilled labor, making it a labor-intensive and time-consuming process. 4. Small Production Runs: PCBs are often produced in small quantities, which can drive up the cost per unit due to the lack of economies of scale. 5. Quality Control: PCBs need to undergo rigorous testing and quality control measures to ensure they meet the required standards, which can add to the overall cost. 6. Customization: Customized PCBs require additional time and resources to design and manufacture, making them more expensive than standard PCBs. 7. Environmental Regulations: PCBs are considered hazardous waste and must be disposed of properly, which can add to the cost of production. 8. Research and Development: The constant advancements in technology and the need for new and innovative PCB designs require significant investments in research and development, which can drive up the cost of PCBs. 9. Supply and Demand: The demand for PCBs is high, and the supply is limited, leading to higher prices. 10. Quality and Reliability: PCBs are critical components in electronic devices, and any defects or failures can have severe consequences. Therefore, manufacturers must invest in high-quality materials and processes, which can increase the cost of PCBs.
5.How do you assemble a PCB?
1. Gather all necessary materials and tools: - PCB board - Electronic components - Soldering iron - Solder - Flux - Wire cutters - Tweezers - Multimeter - Schematic diagram or layout design 2. Prepare the PCB board: - Clean the board with isopropyl alcohol to remove any dirt or residue - Place the board on a flat and stable surface - Identify the components placement and orientation according to the schematic diagram or layout design 3. Solder the components: - Start with the smallest and lowest height components first - Apply a small amount of flux to the pads on the board - Place the component on the correct pad and hold it in place with tweezers - Heat the pad and component lead with the soldering iron - Once the solder melts, remove the iron and hold the component in place until the solder cools and solidifies - Repeat this process for all components, working from smallest to largest 4. Check for solder bridges: - Use a multimeter to check for any solder bridges between adjacent pads - If any bridges are found, use desoldering braid or a solder sucker to remove the excess solder 5. Test the connections: - Use a multimeter to check for continuity between the component leads and the corresponding pads on the board - Make sure there are no open circuits or short circuits 6. Power up the PCB: - Connect the PCB to a power source and turn it on - Use a multimeter to check for proper voltage levels at different points on the board - Check for any overheating components 7. Troubleshoot and make any necessary adjustments: - If there are any issues with the PCB, use the schematic diagram or layout design to troubleshoot and make any necessary adjustments - Re-solder any loose or faulty connections 8. Secure the PCB: - Once the PCB is functioning properly, secure it in place using screws or standoffs 9. Test the final product: - Connect the PCB to the intended device or circuit and test its functionality - Make any final adjustments if needed.
6.What is PCB baking?
PCB baking is a process used in the manufacturing of printed circuit boards (PCBs) to remove moisture from the board before it is assembled. This is done by placing the PCB in a specialized oven at a specific temperature for a set amount of time. The heat from the oven causes the moisture to evaporate, ensuring that the PCB is completely dry before it is assembled. This is important because moisture can cause defects and failures in the PCB during the assembly process. Baking also helps to improve the adhesion of components and solder to the board, resulting in a more reliable and durable product.

RELATED NEWS
pcb board manufacturing How To Contact US
PCB from 1 to 30 layers, HDI, Heavy Copper, Rigid-flex board with "pcb board manufacturing One-Stop" service.


